
On a recent kayak fishing trip, I noticed my seventeen year old Hobie Quest kayak was taking on water. Not too much, but any leak on a boat is bad and required immediate repair. It didn’t take long to discover the keel near the stern was worn through from years of dragging the kayak across rocks. It was time for some kayak keel repair.
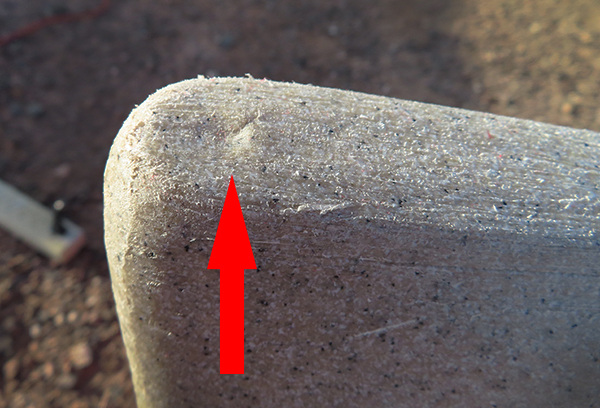
Near the rear, or stern, of the kayak, the keel was worn down paper thin and a small crack had developed, causing water to leak into the hull. The area around the crack was super thin, barely there.
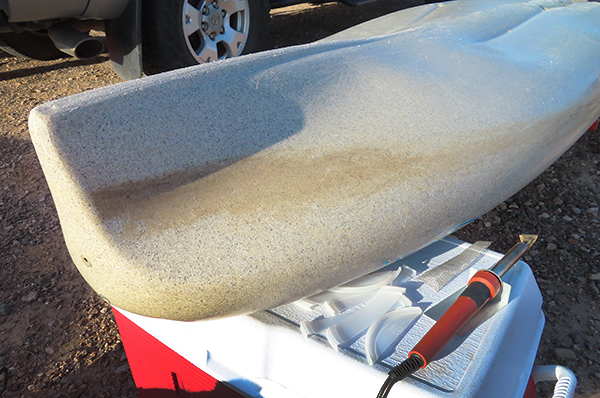
If you are a serious kayak fisherman, along with all the fishing tackle and kayak fishing accessories, should be a plastic welder and material needed to repair your kayak. They are fairly cheap and don’t take up a lot of space. The plastic welders run on 120v AC, so you’ll need an inexpensive inverter to run the welder off your vehicle. I use the 80 watt plastic welder from Harbor Freight. Hobie makes a plastic welder that comes with repair material.
We are out in the middle of the desert on a kayak fishing trip when my kayak started leaking. I have the plastic welder with me and will be using plastic lids from food containers as repair material. I’m going to use metal screen to reinforce the weak plastic of the kayak hull. We have a couple 300w 12vDC power inverters, more than enough run the welder, but for this repair I’m using a portable 1400w inverter generator.
If you don’t know how to weld plastic, there is plenty of information on how to do so on the internet. All I can add is to take it slow, make sure the plastic from the kayak hull and plastic repair material are melted together. It’s not a patch, you’re mixing the plastic together. Be careful not to burn a hole in the boat.
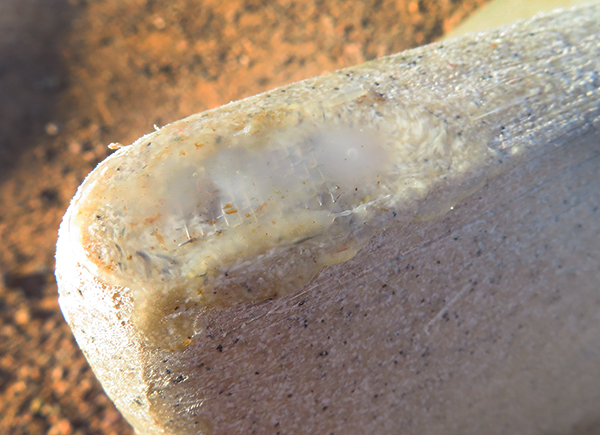
The plan is to patch the keel and build up material in layers using metal screen. The first piece of screen is bigger than the hole in the keel, melted into the kayak hull plastic and filled in with layers of repair plastic. The brown stuff is burned plastic from the plastic welder. Clean the welder more often or sandpaper the plastic between repair plastic layers to prevent this.
I kept adding thin layers of repair plastic to make sure the plastic was welded to the previous layers along with three pieces of metal screen to reinforce and hold everything together. Layer after layer until the keel was repaired and good to go.
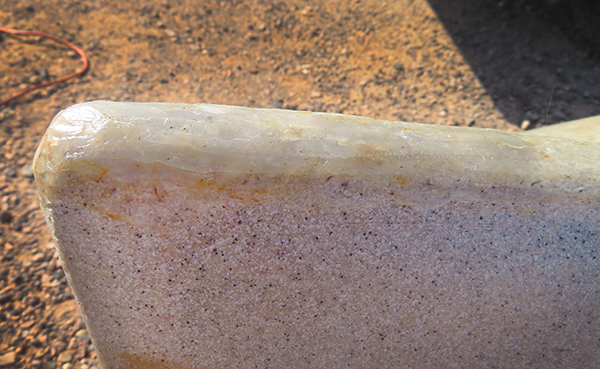
With the kayak being seventeen years old, I’m not worried about cosmetics. Continuing to drag the kayak across the rocks will put the finishing touches on the kayak repair. Back in the water and out of the landfill. Be prepared to repair your kayak.